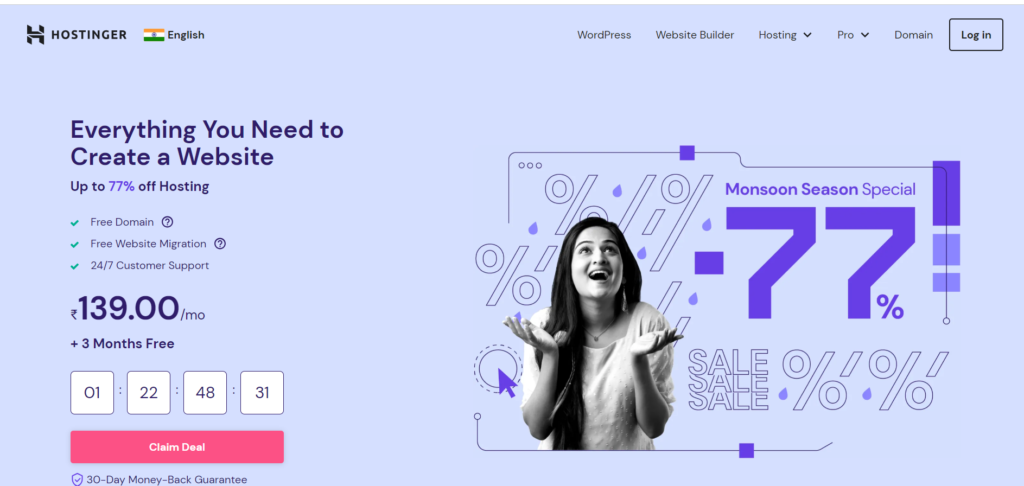
In today’s digital era, having a strong online presence is essential for individuals and businesses alike. One of the key components of establishing an online presence is setting up a website. Holsinger is a popular platform that offers domain registration, website hosting, and a range of other services to help you create and manage your website effectively. In this blog post, we will guide you through the process of creating an account on Holsinger and connecting your domain to get your website up and running.
Step 1: Signing up on Holsinger
To begin, visit the Holsinger website at https://www.hostinger.in . On the homepage, you’ll find a “Sign Up” or “Get Started” button. Click on it to initiate the registration process. You will be redirected to the sign-up page, where you’ll need to provide your email address and choose a password. Make sure to use a strong password to protect your account.

Step 2: Verifying your Email
After submitting your email and password, Holsinger will send a verification email to the address you provided during the sign-up process. Go to your email inbox, locate the email from Holsinger, and click on the verification link provided. This step ensures the security and authenticity of your account.
Step 3: Creating Your Account
Once you’ve verified your email, you’ll be prompted to create your account. Fill in your personal information, including your name, address, and contact details. It’s important to provide accurate information as it will be associated with your domain registration and other account-related activities.
Step 4: Choosing a Subscription Plan
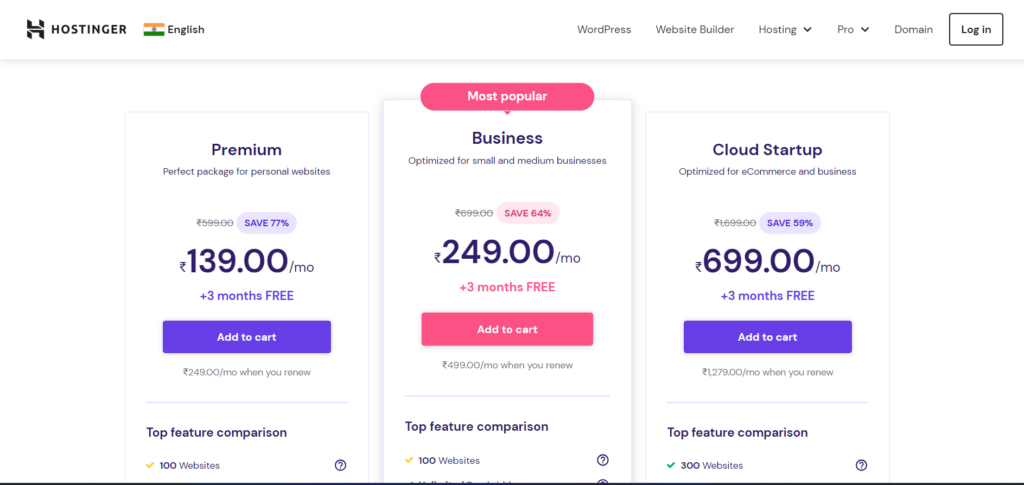
Holsinger offers different subscription plans tailored to meet various needs. Evaluate your requirements and select a plan that suits your budget and objectives. The plans typically vary in terms of storage capacity, bandwidth, email accounts, and additional features such as SSL certificates or website builders. Take your time to review the details of each plan before making your decision.

Step 5: Selecting and Registering Your Domain
Now that you have created your account and chosen a suitable subscription plan, it’s time to select and register your domain. Holsinger provides a domain registration service, allowing you to search for available domain names and secure them for your website. You can either register a new domain or transfer an existing one from another registrar. Use the search bar on the Holsinger website to find an available domain name that best represents your brand or personal identity.
Step 6: Configuring DNS Settings
Once you have registered your domain, you need to configure the DNS (Domain Name System) settings to connect it to your Holsinger account. DNS settings direct the domain to the correct server where your website is hosted. To configure the DNS, follow these steps:
- Access your Holsinger account dashboard.
- Locate the “DNS” or “Domain Settings” section.
- In the DNS settings, you will find two important pieces of information: the nameservers provided by Holsinger.
- Copy the nameserver information, as you will need it to update your domain’s DNS records.
- Login to your domain registrar’s website (the company where you initially registered your domain).
- Locate the DNS management section within your domain registrar’s account.
- Replace the existing nameservers with the ones provided by Holsinger.
- Save the changes, and it may take some time for the DNS changes to propagate across the internet.
Step 7: Setting up Your Website
With your domain now connected to your Holsinger account, you can start setting up your website. Holsinger offers a range of tools and features to help you design and build your website. You can choose from pre-designed templates or customize your website using their drag-and-drop editor. Additionally, you can install various plugins and add-ons to enhance the functionality of your website.
Conclusion
Creating an account on Holsinger and connecting your domain is a crucial step towards establishing an online presence. By following the steps outlined in this guide, you can easily navigate through the account creation process and get your website up and running in no time. Remember to choose a subscription plan that aligns with your requirements, register a domain that reflects your brand, and configure the DNS settings accurately. With Holsinger’s user-friendly interface and comprehensive features, you’ll be well-equipped to build and manage a successful website. Start your journey today and make your mark on the digital landscape!